


Views: 0 Author: Site Editor Publish Time: 2026-09-28 Origin: Site


High-efficiency plumbing upgrades are often sold as set-and-forget solutions. The reality of hybrid technology requires active, scheduled intervention to maintain advertised coefficient of performance ratings. Buyers and facility managers evaluating hybrid systems often miscalculate long-term maintenance overhead. This oversight leads to degraded efficiency, premature compressor failure, and voided manufacturer warranties. Plumbers see it every day: a top-tier unit installed perfectly, only to fail three years later because nobody checked the condensate line or flushed the tank. You cannot treat a hybrid unit like a standard electric tank. It is a specialized piece of thermal equipment. While basic airflow management is widely discussed, protecting a hybrid system investment requires a comprehensive technical checklist. This guide breaks down the exact maintenance protocols required to sustain peak efficiency, interpret digital diagnostics, and ensure operational longevity.
Efficiency Degradation is Preventable: Neglecting routine maintenance can reduce a unit's operational efficiency by up to 40%, negating the energy savings that justify the initial capital expenditure.
Beyond the Filter: Long-term system viability relies heavily on condensate line management, anode rod degradation tracking, electrical continuity, and evaporator coil integrity.
Refrigerant Evolution Impacts Servicing: Modern architectures, such as the R290 side-discharge water heater, introduce new thermal dynamics and servicing requirements that differ from legacy R-134a systems.
Proactive Diagnostics: Monitoring acoustic profiles and digital error codes prevents minor sensor faults from escalating into catastrophic compressor failures.
Warranty Compliance: Documented, systematic maintenance is a strict requirement for upholding 10-year manufacturer warranties on compressors and tanks.
The compressor relies on unrestricted ambient airflow to extract heat from the surrounding environment. Restricted airflow starves the evaporator coil of thermal energy. This forces the system to default to standard electric resistance heating, destroying the energy efficiency that hybrid units are known for. You need a massive volume of air moving across those fins to maintain a high coefficient of performance.
Standard visual inspections often miss the micro-particulate buildup that chokes hybrid systems. Establishing a strict 30-to-60-day inspection cadence is non-negotiable for optimal performance. Proper heat pump water heater filter cleaning requires more than a quick wipe down. Drywall dust, pet dander, and laundry lint embed deep into the mesh.
Power down the unit at the control panel to stop the fan from pulling debris inward during removal.
Remove the filter assembly carefully to prevent trapped dust from falling directly onto the evaporator coil.
Vacuum the primary mesh using a soft brush attachment to remove heavy debris like pet hair and laundry lint.
Wash the filter under lukewarm water. Use a mild, non-abrasive detergent to break down grease or sticky particulates.
Allow the filter to air dry completely before reinstallation. Introducing a damp filter into the housing creates a breeding ground for mold spores on the evaporator fins.
The installation environment heavily dictates the maintenance lifecycle. Units installed in utility closets require louvered doors to meet minimum cubic footage requirements for air exchange. Assess the impact of surrounding dust sources. Workshops generating sawdust or laundry rooms producing heavy lint will require bi-weekly filter inspections. Inspect the intake and exhaust louvers on the unit itself. Look for physical blockages or dust bridging that bypasses the primary filter assembly entirely. If you install a unit in a sealed basement, you must ensure adequate makeup air, or the system will suffocate and freeze the coil.
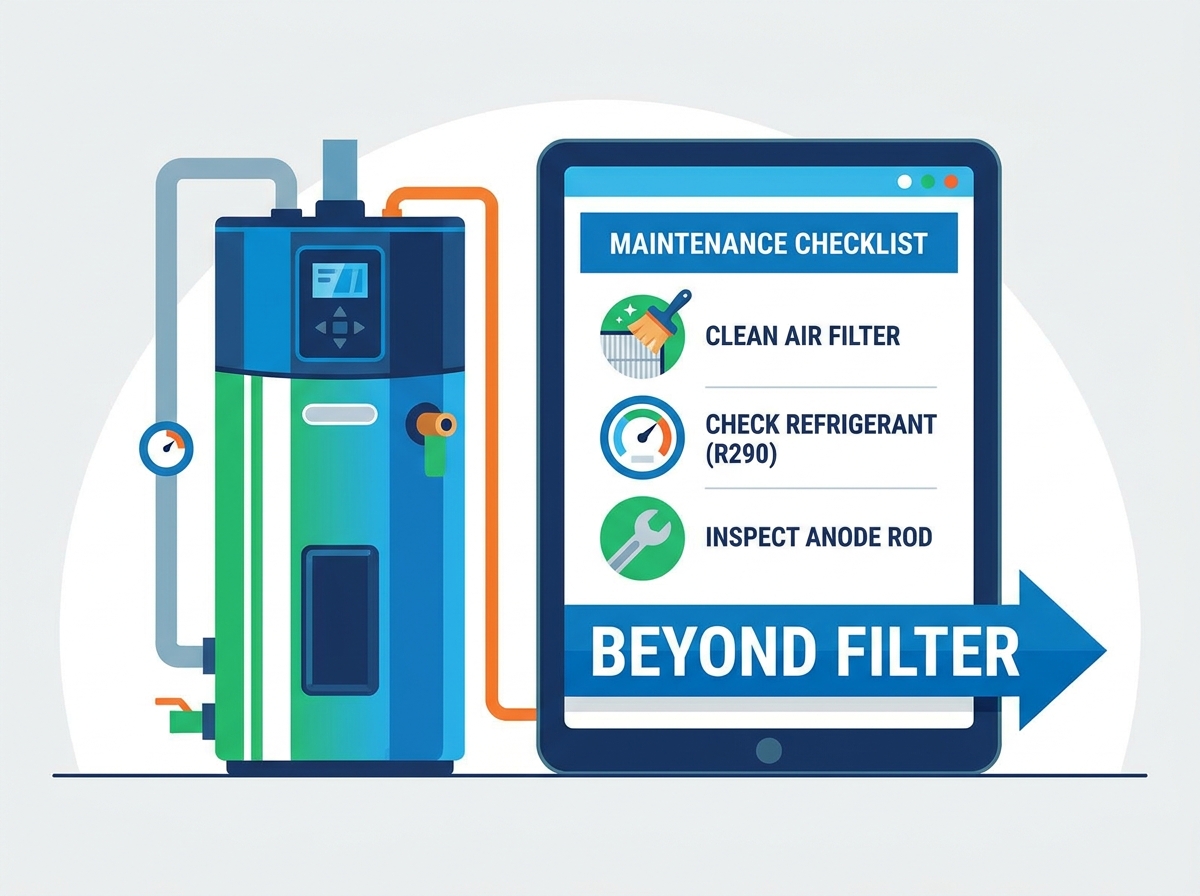
Beyond airflow, the mechanical components of a hybrid system require annual intervention to prevent catastrophic failures and localized water damage. These are not optional checks; they are the difference between a ten-year lifespan and a three-year failure.
Hybrid units generate significant condensation as they strip moisture from ambient air. A clogged condensate line leads to overflow, localized water damage, and potential electrical shorts within the control board housing. Annual flushing mitigates this risk. In humid climates, a hybrid unit can pull gallons of water out of the air daily.
Locate the primary and secondary drain pans beneath the evaporator assembly. Check for standing water or biological growth.
Inspect the PVC trap. Ensure it holds water to prevent sewer gases from backing up into the mechanical room.
Pour one cup of white vinegar down the primary condensate access port to dissolve algae and mineral deposits. Let it sit for thirty minutes.
Flush the line with warm water to ensure rapid drainage.
If the system utilizes a condensate pump, manually trigger the float switch to verify the pump activates and clears the reservoir.
For units installed in unconditioned spaces like garages, inspect the condensate line insulation. Exposed lines can freeze during winter, causing immediate backups.
The T&P valve serves as the primary fail-safe against catastrophic tank rupture caused by thermal expansion. Testing this valve annually ensures mechanical compliance and safety. A seized valve turns a water heater into a potential explosive hazard.
Place a bucket under the T&P discharge tube to catch the expelled hot water.
Lift the manual test lever gently. You should hear a hiss of air followed by a strong stream of water.
Release the lever. The spring should snap the valve shut immediately.
Monitor the discharge tube for the next 24 hours. A valve that continues to weep or drip indicates a weakened spring or trapped sediment, requiring immediate replacement.
The sacrificial anode rod dictates the lifespan of the steel tank. Through galvanic corrosion, the rod sacrifices itself to protect the tank lining from rusting. Depletion levels must be checked every two to three years. Factory-installed rods are often tightened with pneumatic tools, making removal difficult.
Use a 1-1/16 inch socket and a heavy breaker bar to remove the hex head at the top of the tank. You may need a second person to hold the tank steady. If the rod exposes more than six inches of its core wire, it requires replacement. Evaluate the trade-offs between different rod materials based on local water chemistry.
Anode Rod Material | Best Water Condition | Lifespan Expectancy | Maintenance Notes |
|---|---|---|---|
Magnesium | Soft Water | 3 - 5 Years | Provides superior protection but depletes rapidly in hard water. |
Aluminum / Zinc | Hard Water / High Odor | 3 - 5 Years | Reduces sulfur smells but can leave a gel-like residue in the tank. |
Powered Titanium | All Water Types | Permanent | Requires a standard 120V outlet. Eliminates future rod replacements. |
Thermal expansion and constant compressor vibration can loosen wiring harnesses over time. Loose connections lead to voltage drops, melted contactors, and erratic system behavior. Annually inspect the main terminal block for signs of thermal damage, such as scorched insulation or discolored copper. Test the resistance of the backup electric heating elements using a digital multimeter.
Turn off the breaker. Disconnect the wires from the element terminals to isolate it. Set your multimeter to Ohms. A standard 4500-watt element should read between 12 and 16 ohms. Infinite resistance indicates a snapped filament, while lower readings suggest a shorted element that requires immediate swapping. Do not skip this step; a dead backup element forces the compressor to run continuously during high-demand periods, burning out the heat pump.
Maintaining the refrigeration cycle sustains high performance ratings. The evaporator coil and the refrigerant charge are the heart of the thermal extraction process. Field technicians often find units running continuously simply because the coil is packed with dust.
Clean evaporator coils ensure optimal heat transfer. Even a single millimeter of accumulated dust acts as a thermal insulator, forcing the compressor to run longer cycles to achieve the same temperature setpoint. This drastically increases energy consumption and accelerates mechanical wear.
Utilize non-acidic, self-rinsing foaming coil cleaners for maintenance. Spray the foam directly onto the aluminum fins and allow it to push dirt outward as it expands. The natural condensation generated during the next cooling cycle will rinse the residue into the drain pan. Inspect the delicate aluminum fins for damage or corrosion. Use a specialized fin comb to carefully straighten any bent sections, restoring proper airflow pathways without puncturing the underlying copper tubing. Never use a pressure washer or stiff wire brush on these fins.
The industry is rapidly transitioning from traditional top-mounted R-134a units to modern propane-based architectures. An R290 side-discharge water heater offers superior thermodynamic properties and an ultra-low Global Warming Potential.
Side-discharge designs alter the physical footprint and access panels for routine servicing. The horizontal fan orientation changes how clearance must be managed, often requiring more lateral space but less vertical clearance. R290 systems operate under different pressure dynamics and require specific leak-detection protocols. Because R290 is highly flammable, professional servicing requires strict ventilation compliance and specialized spark-proof diagnostic equipment. Never attempt to tap into an R290 refrigerant line without proper certification. The side-access panels make it much easier to clean the coil and inspect the compressor without removing the entire top shroud.
A change in the acoustic profile often precedes mechanical failure. Rattling, grinding, or high-pitched whining are early warning signs of component degradation. Check the compressor isolation mounts. These rubber grommets absorb operational vibration. If they dry rot or crack, excessive vibration transfers to the copper refrigerant lines, eventually causing stress fractures and catastrophic refrigerant leaks. Inspect the fan blade for balance. Dust accumulation on a single blade throws the assembly off-balance, destroying the fan motor bearings over time. A simple wipe-down of the fan blades can save a costly motor replacement.
Modern hybrid systems feature advanced digital control boards that log operational data and sensor faults. Leveraging this data prevents minor issues from escalating into full system lockouts.
Navigate the digital control panel to review historical fault codes. High-pressure lockouts typically indicate a dead fan motor or a severely blocked air filter. Thermistor failures suggest a faulty temperature sensor, causing the unit to over-heat or under-heat the water. Ambient temperature warnings occur when the surrounding air drops below the operational threshold of the compressor, forcing the unit into resistance mode. Documenting these codes provides invaluable context for professional technicians during service calls. Do not just clear the code and walk away; investigate the root cause.
Common Fault Type | Likely Cause | Immediate Action Required |
|---|---|---|
High-Pressure Lockout | Blocked filter or dead fan motor. | Clean filter, verify fan operation. |
Thermistor Error | Failed temperature sensor. | Test sensor resistance, replace if out of spec. |
Low Ambient Temp | Room temperature below 37°F. | Switch to electric-only mode temporarily. |
Compressor Overload | Low refrigerant or bad capacitor. | Call a certified refrigeration technician. |
Optimize compressor lifespan by actively managing operating modes based on seasonal ambient temperatures and household demand fluctuations. Leaving the unit in a single mode year-round ignores the flexibility of the hybrid system.
Heat Pump Only: Maximizes efficiency during warm months when ambient heat is abundant. The compressor does 100% of the work.
Hybrid/Eco: The default setting. Balances efficiency with recovery speed by engaging resistance elements only during high-demand spikes.
High Demand: Prioritizes rapid recovery using both the compressor and resistance elements simultaneously. Use this only when hosting guests or running multiple heavy appliances.
Vacation Mode: Drops the tank temperature to prevent freezing while minimizing energy consumption during extended absences.
Internal tank maintenance is just as important as external airflow management. Sediment accumulation destroys heating efficiency from the inside out. Plumbers frequently replace tanks that have split at the seams because sediment trapped heat against the steel.
Calcium and magnesium precipitate out of hard water during the heating process, settling at the bottom of the tank. This sediment layer insulates the lower backup heating elements, causing them to overheat and burn out prematurely. Heavy sediment displacement reduces the overall volumetric capacity of the tank. This forces the heat pump water heater to work harder and run longer cycles to maintain setpoints. You are essentially paying to heat a layer of rock before you heat the water.
Executing a full tank flush annually removes loose sediment before it calcifies into a solid block. Do not skip this step, especially if you are on well water.
Power down the unit completely at the main breaker panel. Disengage both the compressor and the resistance elements to prevent dry-firing.
Turn off the cold water supply valve located above the tank.
Attach a standard garden hose to the drain valve at the base of the unit. Route the other end to a floor drain or driveway.
Open a hot water faucet inside the building to break the vacuum seal within the plumbing lines.
Open the drain valve and allow the tank to empty completely. Watch the discharge for heavy scale.
Once empty, toggle the cold water supply valve on and off several times to agitate and flush out stubborn sediment at the bottom of the tank.
Close the drain valve, remove the hose, and refill the tank completely. Open a hot water faucet until a steady stream of water flows, confirming all air is purged.
Restore electrical power at the breaker.
For multi-family deployments, manual flushing becomes labor-intensive. Implementing automated flush valves or installing pre-filtration systems, such as water softeners, drastically reduces manual maintenance hours and protects the internal components from scale buildup.
Calculating the labor cost of annual maintenance versus the energy savings generated by the unit reveals the true value of the system. A well-maintained hybrid unit pays for itself in energy savings within three to four years. A neglected unit becomes a financial liability.
Facility managers and homeowners can handle basic upkeep. Filter cleaning, tank flushing, and T&P valve testing require minimal tools and time. However, certain tasks require a licensed technician. Refrigerant pressure checks, compressor diagnostics, and electrical component replacements carry significant safety risks. Tapping into a sealed refrigeration system without an EPA certification is illegal and dangerous.
Equipping your facility or home with the right tools streamlines the maintenance process and prevents damage to the unit. Using the wrong size socket on an anode rod or the wrong chemical on a coil will void your warranty instantly.
1-1/16 Inch Impact Socket and Breaker Bar: Required for breaking the factory seal on the anode rod hex head. Standard ratchets rarely provide enough torque.
Digital Multimeter: Essential for testing the resistance of the backup heating elements and verifying voltage at the terminal block.
Fin Comb: A specialized hand tool used to straighten bent aluminum fins on the evaporator coil without puncturing the copper refrigerant lines.
Non-Acidic Foaming Coil Cleaner: Alkaline-based cleaners lift dirt out of the coil block safely. Acidic cleaners will eat away the aluminum fins over time.
Heavy-Duty Garden Hose: A dedicated short hose for flushing the tank ensures you do not introduce exterior dirt into the drain valve area.
Keeping these tools in a dedicated bag near the mechanical room ensures that bi-monthly and annual maintenance tasks are executed efficiently, rather than deferred due to missing equipment.
Manufacturers do not honor warranties blindly. The necessity of keeping service logs, receipts for anode rods, and professional inspection records cannot be overstated. If a tank leaks at year seven, the manufacturer will request proof of anode rod replacement and regular flushing. Without documentation, they will deny the claim. Keep a physical logbook zip-tied to the plumbing lines above the unit.
A hybrid water heating system operates as a highly efficient thermal battery. Its return on investment is entirely dependent on strict adherence to a comprehensive, documented maintenance schedule. Neglecting the mechanical and thermodynamic realities of these systems guarantees premature failure and inflated energy consumption. When evaluating units for replacement, prioritize models engineered for serviceability. Look for easily accessible air filters, front-facing anode rods, and clear diagnostic control panels.
Establish a recurring calendar alert for bi-monthly filter checks to ensure unrestricted airflow to the evaporator coil.
Schedule an annual professional inspection to verify refrigerant charge, clean the evaporator fins, and torque all electrical connections.
Verify your local water hardness levels to accurately project your first anode rod replacement.
Maintain a dedicated physical logbook near the unit to record all flushes, filter cleanings, and professional service visits.
A: Inspect and clean the filter every 30 to 60 days. Environments with high particulate matter, such as basements, garages, or areas near laundry machines and woodworking benches, require bi-weekly inspections to prevent micro-dust from choking the evaporator coil.
A: Yes. Hybrid units incorporate a complete refrigeration cycle. You must maintain the compressor, evaporator coils, condensate drain lines, and air filters. Standard electric resistance heaters only require periodic tank flushing and anode rod checks.
A: A clogged line causes condensation to pool and overflow the drain pan. This leads to localized property damage, potential electrical shorts if water reaches the control board, and system shutdowns. Annual flushing with white vinegar prevents algae and mineral blockages.
A: Standard magnesium or aluminum anode rods typically last 3 to 5 years. Municipal water quality and hardness heavily impact this timeline. Upgrading to a powered titanium anode rod provides permanent protection and eliminates the need for routine rod replacements.
A: Side-discharge architectures offer superior accessibility. The side-panel configuration allows technicians to access the compressor, coils, and control boards easily in tight spaces. Additionally, the R290 refrigerant provides exceptional thermodynamic efficiency, reducing overall compressor strain.
A: Yes, but proceed with caution. Use a soft-bristle brush and specific non-acidic foaming coil cleaners. Never use a pressure washer or stiff wire brushes, as these will bend the delicate aluminum fins and permanently restrict airflow through the coil block.
A: Increased acoustic noise usually indicates a mechanical imbalance. Common culprits include a dirty fan blade, worn rubber compressor isolation mounts, or severely restricted airflow. Immediate inspection is required to prevent excessive vibration from fracturing the copper refrigerant lines.


